Defense and Recovery
One button. Four jobs.
Parry stops a hit and opens a counter. Tap it while ragdolling to flip out of a knockdown. Chain into Ground Pound for the conversion. Parry with a wall behind you and the move auto-converts into a homing counter-dive.
Play Now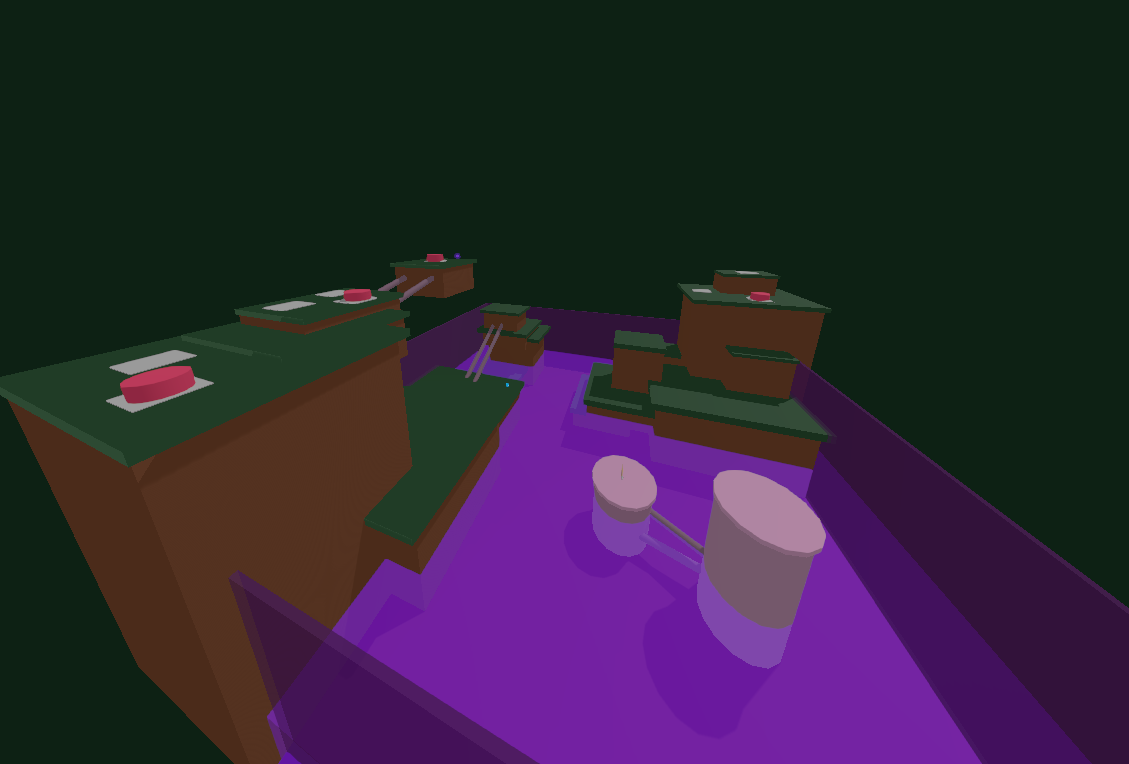
What one button can do
The parry input (Right Mouse by default, LT/L2 on controller) does more work than any other button in the game. Knowing which use is active is the difference between recovering and getting punished.
- Ground parry: intercepts an incoming punch, opens a short counter window, and staggers the attacker.
- Midair parry: tap parry while ragdolling in the air to flip out of the knockdown and regain control. Some players call this air tech.
- Ground Pound setup: after a clean midair parry, look down and hold punch to chain into a Ground Pound. The follow-up that converts the recovery into damage.
- Wall parry into counter-dive: a successful parry with a wall behind you triggers an automatic homing dive at the attacker with roughly 65% tracking. No manual charge or aim. The wall parry is the trigger.
Parry with a reason
The parry button has a cooldown. Pressing it on reflex can leave the option unavailable for the next attack. New players burn parry before the attacker has committed, or on a tap punch when a charge was coming.
Watch the charge animation, not the player’s feet. A player who has held the punch wants the big payoff. Make that release hit your parry instead of your body and their commitment becomes your opening.
Counter windows and follow-ups
A ground parry gives you a window. The right answer depends on position:
- Near a ledge: a tap punch or grab converts. You don’t need the big launch when the map does the work.
- Center of the arena: a grab catches players still in stagger. A full-charge release works when you have space to back into.
- Crowded fight: leaving is often the best play. Don’t spend initiative on a low-percentage swing while a third player has a free angle.
- With a wall behind you: the counter-dive triggers automatically. Don’t fight the homing with movement. Let the dive land.
Midair parry and the Ground Pound chain
Recovery is not downtime. While you tumble through the air, the round is still happening, and parry is still your most important button.
Midair parry is the recovery flip out of a knockdown. The moment you start ragdolling, tap parry to tech. You flip into a controlled state with a short invincibility window and can choose where you land. Teching too early (before you ragdoll) or too late (after the safe ledge passes) both fail.
Ground Pound chains off a clean midair parry. After the parry, look down and hold the punch button to pin the target into the floor. This can turn a defensive recovery into damage or a finish. Tech and run only when there’s no opportunity to chain.
Wall parry and the counter-dive
The counter-dive is a niche but powerful conversion. Parry an attacker with a wall behind you and the move auto-converts into a homing dive aimed at them. Tracking is around 65 percent. Enough to chase adjustments, not enough to catch a clean lateral dodge.
No manual charge or aim input. The wall parry is the trigger. Over-correcting with movement during the dive can break the homing arc. If the attacker is too far when the dive starts, momentum runs out and you land short. Cleanest use is mid-range with the attacker visible above your landing path.
The counter-dive replaced the older manual ground slam. If you remember an aim-and-charge slam from earlier versions, that move no longer exists. The dive is now automatic off the wall parry.
Common mistakes
- Parrying before the attacker commits, then getting hit during the parry recovery.
- Holding parry through an entire scramble and burning the cooldown on tap punches.
- Recovering straight backward toward an arena boundary instead of sideways toward cover.
- Winning a parry and immediately full-charging while a third player has a free angle.
- Midair-parrying too late, after the safe ledge has already passed.
- Forgetting the Ground Pound chain and only teching to a neutral landing when a conversion was available.
- Fighting the counter-dive homing with movement and missing the auto-converted hit.